
Are you curious to find out which mirror is used in headlights of car? You’re not alone.
It’s a common question that most car owners ask when it comes to understanding exactly what goes into making their vehicles shine so bright at night.
In this blog post, we’ll explore all the details behind automotive headlights and discover exactly which type of mirror is needed for them to function properly. So if you’re eager to learn more about your car’s lights, keep reading.
Shining a Light on Which Mirror Is Used In Headlights Of Car?
It might not be a question that keeps you up at night, but it’s still an interesting tidbit to know about.
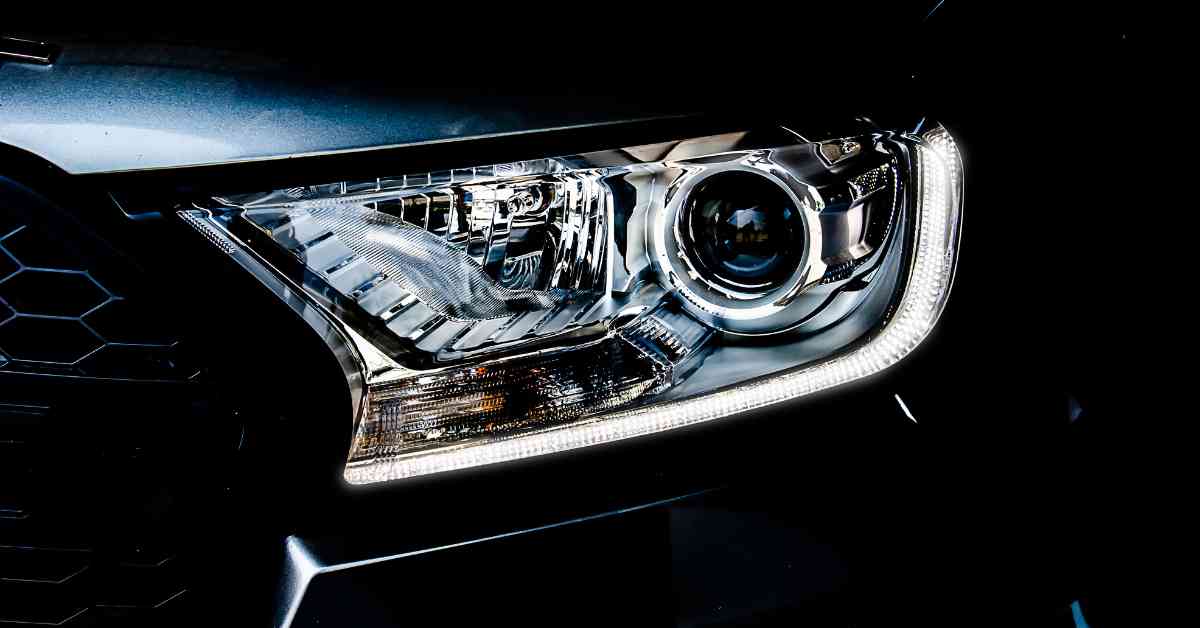
The mirror used in a car’s headlights is a concave mirror, which means it curves inward like a bowl. This type of mirror is designed to reflect the light from the headlight bulb and focus it in a more concentrated beam.
The concave shape allows the light to bounce inward, which makes it brighter and more intense. Thanks to the use of a concave mirror, drivers are able to see more clearly in the dark and stay safe on the road.
Why Concave Mirror Is Used In the Headlight Of the Car?
When it comes to car headlights, using a concave mirror makes perfect sense. This unique design is an integral part of your vehicle’s headlight system and plays a crucial role in keeping drivers safe on the roads.
So why exactly do car headlights use concave mirrors? There are several reasons for this but it mostly comes down to safety, performance, and improved visibility for drivers. Let’s take a closer look at what these advantages are:
1. Safety
When driving at night or in low-visibility conditions like fog or snow, having bright headlights is essential so that other cars can see you. This is where concave mirrors come into play.
The curved surface reflects the light more efficiently than flat surfaces do – giving off significantly brighter illumination than standard headlights without needing extra energy input from your battery or engine.
This leads to improved visibility as well as important safety benefits such as being seen faster by other drivers on the road at night and during bad weather conditions.
2. Performance
Not only does adding concave mirrors to your car’s headlight system provide increased brightness but it also boosts fuel efficiency due to its ability to redirect light efficiently with minimal energy loss.
This helps conserve power while ensuring that you receive optimal illumination when driving in dark environments.
So not only does it improve safety but it also adds an extra layer of fuel economy by helping automakers make more efficient use of their onboard lighting systems.
3. Improved Visibility
Concave mirrors provide wider angles when reflecting light which gives off better coverage than regular flat headlight designs.
It leads to enhanced visibility for drivers navigating through dark areas or difficult terrain with greater precision and accuracy compared with traditional lighting setups.
Overall, using concave mirror technology within your car’s headlight system offers many advantages, no matter what time of day (or night) you find yourself on the roads.
Also Check: What Are The Benefits of Doing a Car Facelift
Tips for Maintaining and Cleaning Your Headlight Mirror

Cleaning and maintaining your headlight mirrors is an important part of keeping your vehicle safe and road-worthy.
Not only do clean headlights help you to see better on dark roads, but they can also improve the look of your car. Here are some tips for properly cleaning and maintaining your headlight mirror:
#1: Regularly Clean with Soap & Water
Start by using a gentle soap or glass cleaner to remove any dirt, debris, or stuck-on residue from the lens surface. Wipe off with a microfiber cloth so as not to scratch the lens coating.
#2: Invest In a UV Protective Coating
Applying protective coatings can help keep harmful UV rays from damaging or discoloring your headlights over time.
They also act as an extra shield against things like bird droppings and acid rain, which can be hazardous to both vehicle paintwork as well as plastic headlight units themselves.
#3: Wax Your Headlights Twice A Year
Always finish up by waxing both the interior and exterior sides of the lenses with car wax that has been formulated for this purpose.
This helps protect against future discoloration & oxidation buildup (especially in harsh climates) while further improving clarity & brightness when driving in low light conditions such as dusk/dawn hours each day.
This step should ideally be done every 6 months depending on how frequently you drive at night time/on dusty roads etc.
#4: Use A Rubbing Compound For Oxidation
If there is oxidation on the lenses, use a rubbing compound specifically designed for headlights – never attempt to use acetone, alcohol, lacquer thinner, paint thinner, etc.
Rubbing compounds will gradually restore clarity while still being gentle enough not to damage any coatings that exist on modern lenses (or plastic).
Alternatively, you can buy kits that include pre-mixed solutions of acetone/alcohol which can be used in conjunction with polishing compounding pads.
Note: Just make sure you read all instructions carefully before attempting these methods at home.
#5: Refit the lens cover if necessary
It may be bent out of shape due to age or improperly fitting components like fog lights or LED lights. It’s best practice to check this often as part of routine maintenance.
These simple steps will ensure that your headlights stay looking their best for years to come while also helping keep you safe behind the wheel when driving at night – what’s not to love?
Also Check: Understand the Concept and Significance of Mileage
DIY Tips for Replacing a Damaged or Broken Headlight

Replacing a damaged or broken mirror of car headlights can be intimidating for the average DIYer, but with the right preparation and tools, it’s actually quite doable.
Here are some tips for replacing a damaged or broken mirror on your car’s headlights:
1. Choose the correct replacement part
Before getting started with any repair work it’s important to ensure that you have the right replacement part. Look for the appropriate replacement headlight assembly in your local automotive store or an online retailer.
It needs to match the make, model, and year of your car and come with a compatible headlight that matches its dimensions.
2. Remove old parts carefully
Be careful when removing existing components so as not to damage any sensitive wiring or other parts of your vehicle’s wiring system or accessories.
If possible, use plastic pry tools rather than metal ones to limit the damage caused by scratching paintwork on surrounding panels during the removal processes.
3. Clean all surfaces before starting installation
It is always important to clean all surfaces before installing a new part – especially when it comes to headlights.
Make sure that any dirt, dust, oil residue, and other materials are thoroughly removed in order for the new item to properly bond with existing materials around it.
Rubbing alcohol is usually enough for this task but don’t forget glasses cleaner if there is smoke film covering up your view.
4. Disconnect wiring
Use appropriate tools to remove electrical connections such as wiring harnesses or connectors from old units. In order to do this safely make sure all power sources (battery) are disconnected throughout this process.
5. Remove existing headlight
Carefully open up the existing headlight components around it using your pry bar so that they won’t be damaged while detaching them from each other.
Then use your adjustable wrench to remove any screws securing the existing headlight mirror into place. Once this is done take out old parts carefully so as not to scratch or damage surrounding areas around it.
6. Install new headlights
Connect new headlights into place while following all manufacturer guidelines closely. Secure them using a screwdriver depending upon the type of mounting used by the particular type/model car being worked on at the moment time.
7. Ensure proper alignment
To avoid misalignments that could cause visibility obstructions during nighttime driving sessions double check the necessary angles required.
Congratulations – You did it! With these DIY Tips for Replacing a Damaged Broken Mirror of Car Headlights under your belt, you should now feel confident being able to take matters into your own hands when faced similar situation again.
Also Check: Differences Between A Petrol Engine And A Diesel Engine
Takeaway
In conclusion, the mirrors used in car headlights can have a great impact on safety and energy efficiency. As mentioned, the Concave mirror is the most popular type due to its superior reflectivity.
However, the exact type of mirror used depends on both the vehicle model and manufacturer. We hope this blog post has answered your question ‘which mirror is used in headlights of car?’.
If you still have questions or if we missed something important, please comment below. We’d love to continue the discussion, Thanks for reading.